How to Clean and Restore Headlights
Driving at night used to mean squinting through foggy, yellowed headlights just to see the road ahead. Over time, the combination of sun damage, moisture, and road grime takes its toll on headlights causing them to lose their clarity and brightness. But restoring cloudy headlights back to a crystal clear shine is easier than you may think. With just a few inexpensive household items and some simple steps, you can say goodbye to dim, dirty lights and nighttime blindness. In this post, I'll guide you through the whole process - from assessing the condition of your lights to choosing the right cleaning method to buffing them back to like-new condition. Follow our tips and tricks to finally see the road clearly again with headlights that light up the night.
Causes of Cloudy or Yellowed Headlights
In recent years, it has become common to notice that many vehicles on the road have cloudy or yellowed headlights. This can be caused by a variety of factors, such as oxidation, which occurs when oxygen from the air reacts with the plastic material that the headlight is made of, causing it to become brittle and yellowed. UV damage is another culprit, as the sun's rays break down the polymers in the plastic, leading to discoloration over time. Additionally, exposure to road grime, chemicals, and other environmental factors can also contribute to cloudy or discolored headlights. While this may seem like a purely cosmetic issue, it can actually impact visibility while driving, making it important to address the cause of the discoloration. By understanding the causes of cloudy or yellowed headlights, we can take the appropriate measures to prevent them from occurring and ensure our safety on the road.
Step-by-step Guide to Cleaning Headlights with Household Items
Step 1: Gather All Necessary Materials.
This includes toothpaste (preferably the non-gel kind), baking soda, vinegar, a toothbrush, a clean rag, and water.
Step 2: Create Your Cleaning Solution.
Mix a tablespoon of toothpaste with a tablespoon of baking soda. Then, add a tablespoon of vinegar to the mixture.
Step 3: Apply The Cleaning Solution.
Using your toothbrush, spread the mixture evenly over the headlight. Make sure to cover all the areas.
Step 4: Scrub The Headlights.
Firmly, yet gently, scrub the headlight with the toothbrush in a circular motion. Pay special attention to any particularly cloudy or dirty areas.
Step 5: Rinse Off The Cleaning Solution.
Use a damp rag to wipe down the headlight, ensuring all the cleaning solution is removed. Then, rinse the headlight with water.
Step 6: Dry The Headlights.
Using a clean, dry rag, thoroughly dry the headlight to prevent water spots from forming.
Step 7: Repeat if Necessary.
If the headlight is still cloudy, you may need to repeat the process a few times until the headlight is clear and clean.
Remember, safety first! Always wear gloves to protect your hands while cleaning your headlights.
Benefits of Commercial Headlight Restoration Kits and Their Different Types
When it comes to improving the visibility and aesthetic appeal of your car's headlights, many people turn to household items such as toothpaste or baking soda. While these DIY solutions may offer some temporary improvements, they often fall short of delivering the long-lasting benefits that commercial headlight restoration kits can provide. Designed specifically for automotive use, these kits contain advanced chemicals and tools that can effectively remove built-up grime, yellowing, and cloudiness from your headlights. From sanding pads and buffing compounds to UV sealants and protective coatings, each type of kit offers a unique set of features and benefits. Investing in a commercial headlight restoration kit not only saves you time and money in the long run, but also ensures that your headlights are restored to their optimal condition and maintained for years to come.
Tips for Choosing the Right Headlight Restoration Kit
Headlight restoration kits are a must-have for anyone experiencing reduced visibility while driving at night. With so many options available, it can be overwhelming to choose the right one for your car's specific needs and budget. The most important factor to consider is the severity of your headlight damage. If your headlights are foggy or yellowed, opt for a restoration kit that includes a cleaning solution and polishing pads. If the damage is more extensive, a kit that includes sandpaper and a sealant may be necessary. Also, keep your budget in mind and look for kits that offer the best value for your money. By taking the time to choose the right kit, you can improve your visibility and have safe nighttime driving.
How to Use a Headlight Restoration Kit Properly
Step 1. Prepare Your Work Area:
Ensure you are working in a well-ventilated and well-lit area. Lay down a protective drop cloth or plastic sheet to protect the surrounding areas from accidental spills or debris.
Step 2. Safety First:
Wear safety glasses and gloves to protect your eyes and hands from the chemicals used in the restoration process. You may also want to consider wearing a mask for added protection.
Step 3. Clean the Headlights:
Using a mild soap and water, clean the surface of the headlights to remove any loose dirt or debris. Rinse and dry thoroughly before proceeding to the next step.
Step 4. Apply the Masking Tape:
Apply masking tape around the perimeter of the headlights to protect the surrounding areas from the abrasive compounds that will be used in the restoration process.
Step 5. Apply the Restoration Compound:
Using the applicator provided in your kit, apply the restoration compound to the surface of the headlights. Be sure to follow the manufacturer’s instructions regarding the amount of compound to use and how long to leave it on.
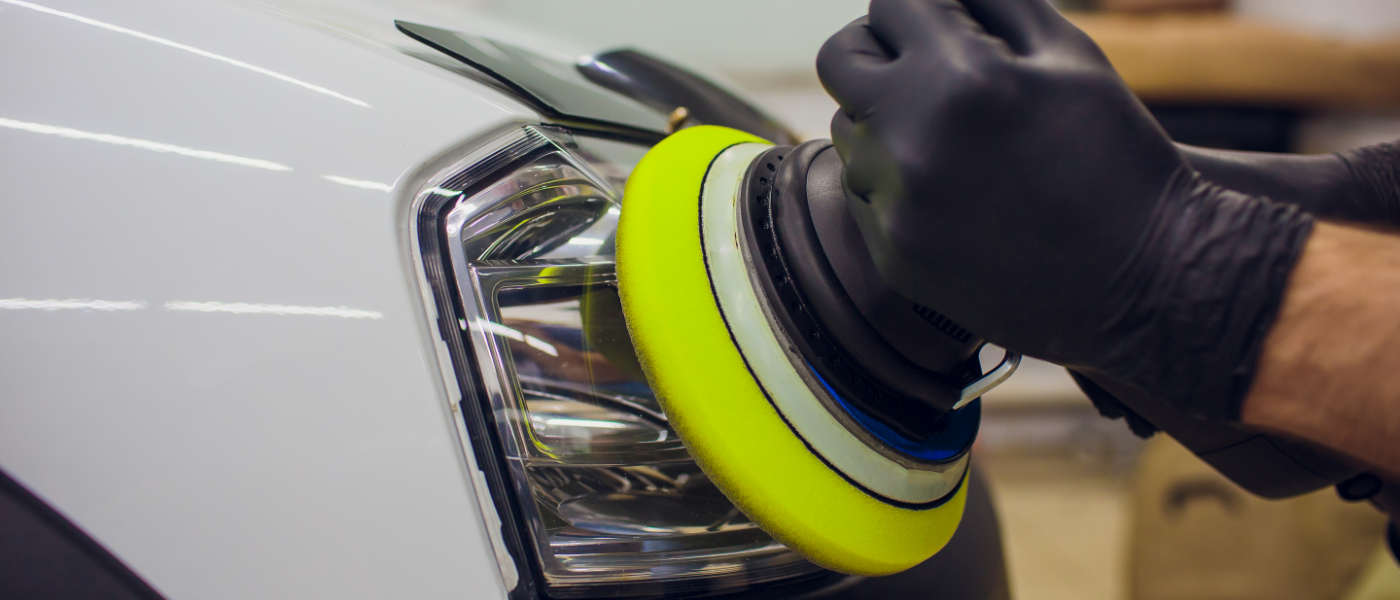
Step 6. Polish the Headlights:
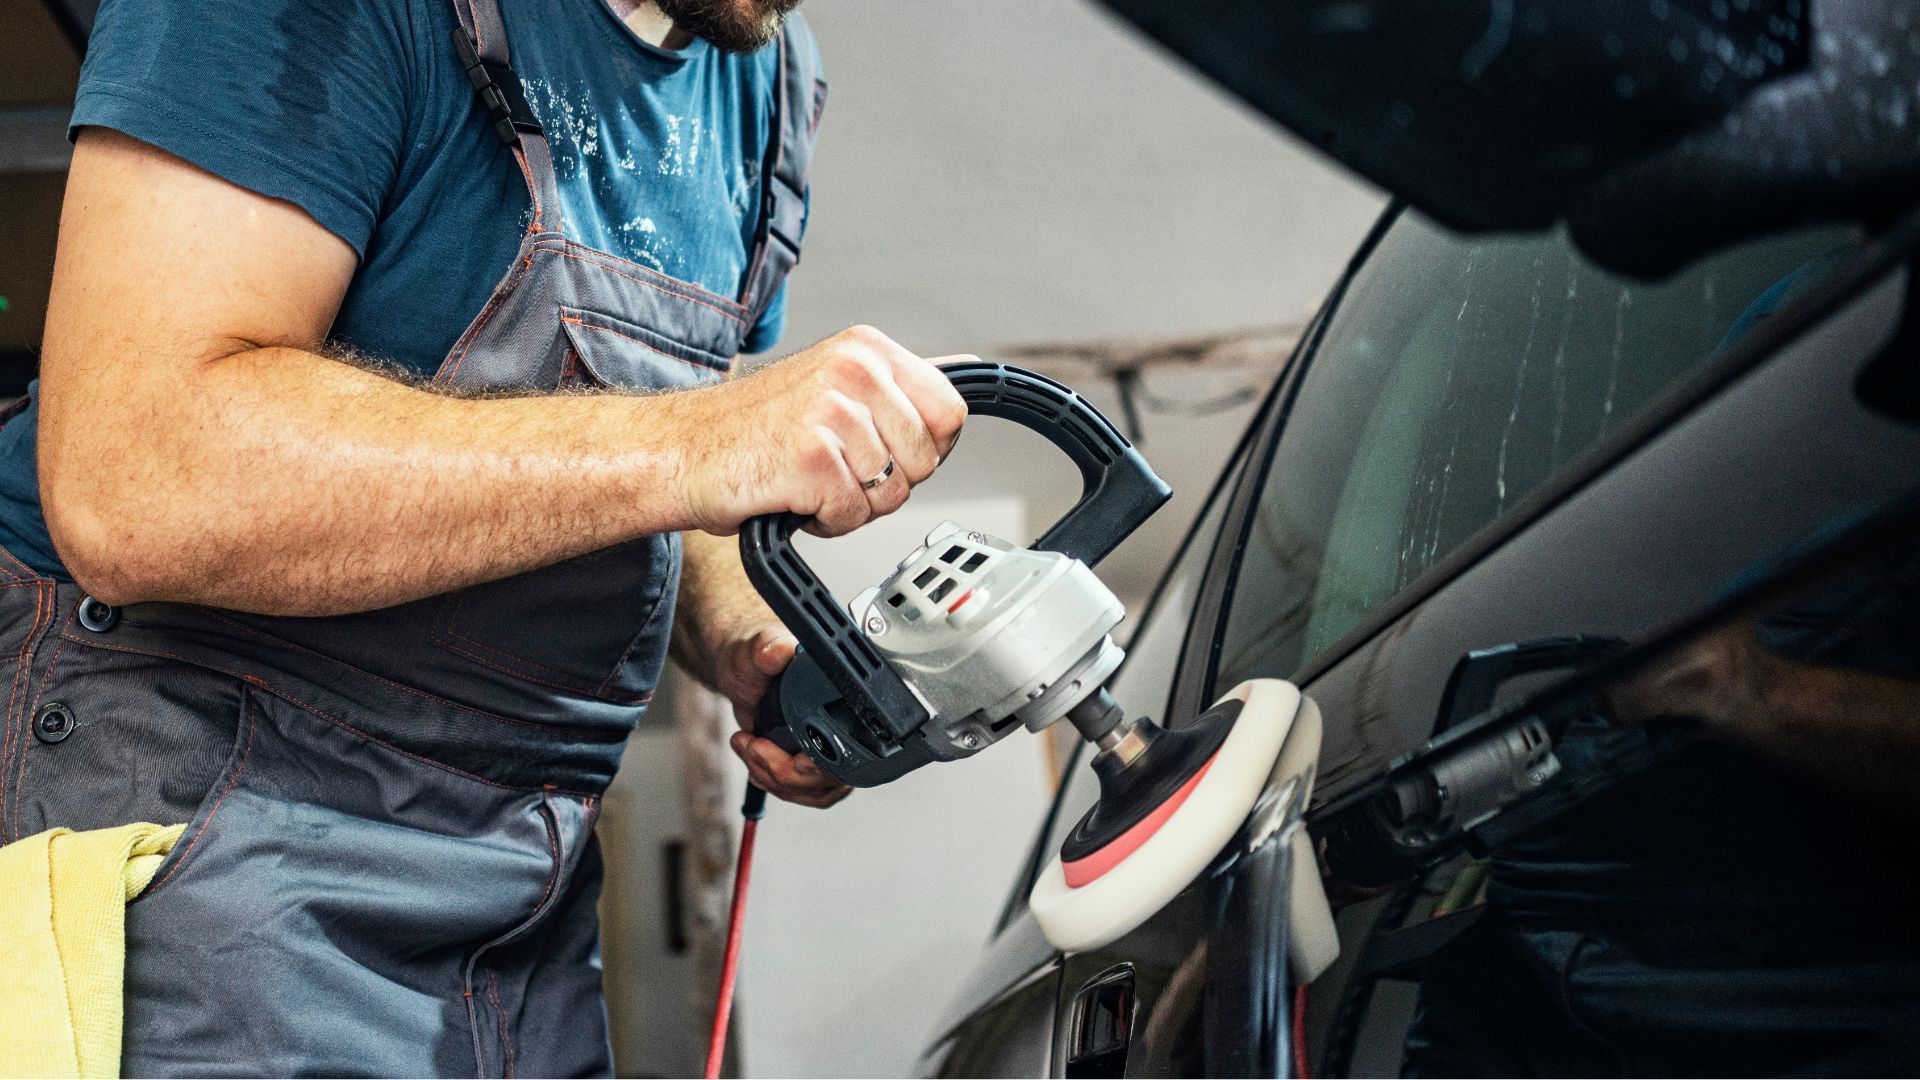
After the restoration compound has been allowed to sit for the recommended time, use the polishing pad provided in the kit to polish the headlights until the surface becomes clear and shiny.
Step 7. Seal the Headlights:
Finally, use the UV protective sealant included in your kit to seal the headlights and protect them from future oxidation and yellowing. Allow the sealant to dry completely before using your vehicle.
Remember, each headlight restoration kit may have slightly different instructions, so always refer to the manufacturer's guidelines.
Additional Tips for Maintaining Clean Headlights
If you're looking to maintain clean headlights in the long term, regular cleaning is key. This might seem obvious, but it's surprising how many people neglect this important step. Dirt, grime, and debris can quickly build up on your headlights, impairing their ability to effectively illuminate the road ahead. Whether you choose to clean your headlights with a specialized cleaning solution or simply soap and water, be sure to do so on a regular basis. Another effective way to preserve the clarity and brightness of your headlights is to apply a protective coating. This coating acts as a barrier against environmental elements and contaminants, preventing the buildup of dirt and grime over time. By implementing these simple tips, you can keep your headlights looking clean and clear, and ensure that your driving experience remains safe and pleasant for years to come.
Common Mistakes To Avoid When Cleaning or Restoring Headlights
Using the Wrong Cleaning Products
It's essential to use a headlight cleaning product specifically designed to handle the material of your headlight lens. Using a household cleaner or abrasive compound can damage the lens surface, causing scratches or dullness that may worsen the lens’s opacity.
Skipping Sanding
Skipping the sanding step is a common mistake. It's important to sand your headlights as it helps to remove the yellowish layer that forms due to oxidation. By neglecting this step, even after cleaning, your headlights might still look foggy and unclear.
Not Sealing After Restoration
Once the headlights are cleaned and restored, many people forget to seal them. Lack of sealing leaves your headlights vulnerable to future oxidation and yellowing. This could mean your headlights become foggy or discolored much faster than if a sealant had been applied.
Not Wearing Protective Gear
Cleaning or restoring headlights often involves working with chemicals or substances that could be harmful if they come into contact with your skin or eyes. Not wearing protective gear such as gloves or safety goggles can lead to irritations or injuries.
Ignoring Regular Maintenance
As with any part of your car, regular maintenance of headlights is crucial. Ignoring this could lead to buildup of grime, dust and oxidation, diminishing their brightness over time. Regular cleaning can help keep them clear and extend their lifespan.
DIY Methods vs Professional Services
As a car owner, you understand the importance of keeping your vehicle in good condition, and that includes maintaining the headlights. However, when it comes to restoring and cleaning headlights, you may wonder whether DIY methods or professional services are the way to go. While DIY methods can seem like a cost-effective option, it is important to know that they may not always be the best choice. Professional services have the advantage of using specialized equipment and products that are designed specifically for your car's make and model. Additionally, professional services can address not only the cosmetic issues with your headlights, but also any functional problems, which can be overlooked with DIY methods. Ultimately, the decision between DIY methods and professional services comes down to individual circumstances, but it is helpful to know the potential benefits and drawbacks of each option in order to make an informed choice.
Conclusion
In conclusion, it is clear that clean and clear headlights are not only important for the safety of your vehicle, but also for its overall aesthetic appearance. While there are various causes of cloudy or yellowed headlights, ranging from oxidation to UV damage, the good news is that there are many effective solutions available. Whether you choose to clean them with household items or opt for a commercial headlight restoration kit, it is essential to follow the correct steps and choose the right product for optimal results. Additionally, maintaining clean headlights in the long term can be achieved through regular cleaning and applying protective coatings. However, it is important to avoid common mistakes when attempting DIY methods and consider professional services if needed. So what are you waiting for? Don't let dull headlights hinder your driving experience any longer. Reach out to us at Duluth Mobile Detailing and let us help you
restore your headlights to their former glory. Trust us, your car (and wallet) will thank you!
You might also like
Blog